Disclaimer: Benro Properties. This site provides home improvement content for informational purposes only.
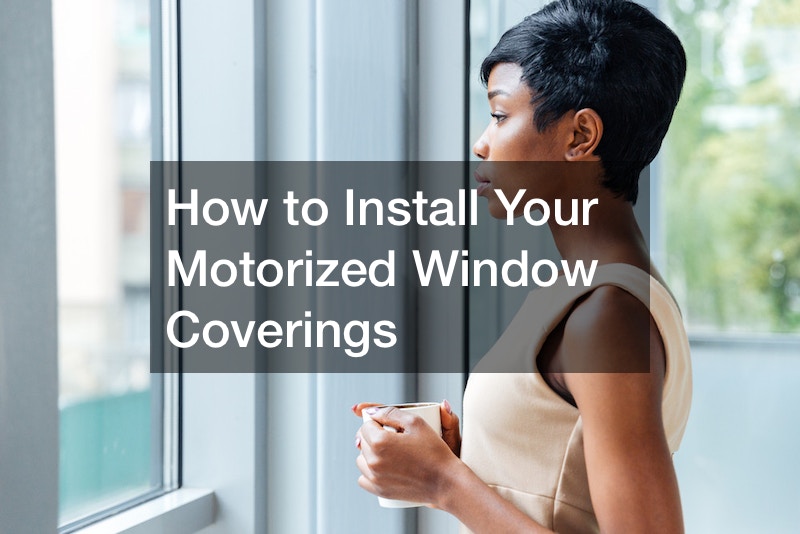
Motorized window coverings are an excellent option for added privacy and style, all while saving energy. The installation process is easy and can be done quickly, but you’ll need supplies. Here’s how to install your motorized window coverings.
Install the Motor
You’ll start by attaching the motor to the end of the shade. Check that the end cap alights well to the motor for a secure and snug fit. Cover it well to protect the motor and leave it polished.
Install Brackets
Use your measuring tape to find the best spots for your brackets on the wall and a lever to ensure the brackets are straight. Crooked shades make your windows look uneven. If you are using other types of material, use an appropriate anchor to hold.
Install the Shades
Gently place the shades on the brackets by sliding them in and locking them up by pushing. You can also tug the shades when you are through to be satisfied it won’t disengage accidentally.
Start Using the Blades
Now you have the blades in place. You can use it manually on automatically. You’ll press the button on top. If using a remote control or a smartphone app, you can have greater control, such as scheduling and adjustments. Enjoy light control and privacy from your new motorized window covering.
.
