Disclaimer: Benro Properties. This site provides home improvement content for informational purposes only.
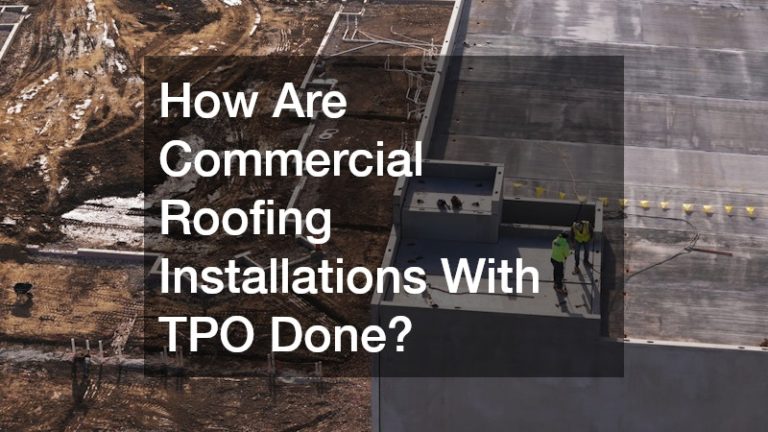
Thermoplastic Olefin (TPO) has become a preferred choice for commercial roofing thanks to its durability, energy efficiency, and ease of maintenance. While the finished product may look like a smooth, seamless surface, installing a TPO roof involves several carefully planned steps to ensure long-term performance. Here’s a detailed look at how commercial roofing professionals carry out TPO installations.
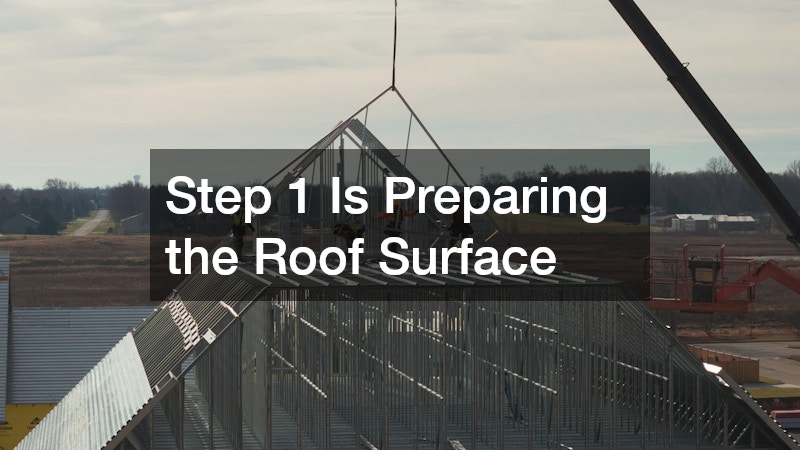
Step 1: Preparing the Roof Surface
The process starts with a clean, stable base. For new construction, this means ensuring the roof deck—often made from steel, concrete, or wood—is secure and meets structural requirements.
For replacement projects, existing materials are removed or covered with a recovery board, depending on the condition of the old roof and local building codes.
Technicians clear away dirt, debris, and moisture because even small imperfections can compromise the TPO membrane’s adhesion. If insulation is part of the system, it’s installed and mechanically fastened or adhered to provide a smooth, supportive layer.
Step 2: Installing the Insulation Layers
Most commercial TPO roofing systems incorporate rigid insulation boards to improve thermal performance. Common choices include polyisocyanurate (ISO), extruded polystyrene (XPS), or expanded polystyrene (EPS). Installers lay these boards in staggered patterns to reduce thermal bridging and secure them using fasteners or adhesive.
This layer not only increases energy efficiency but also creates a level surface that protects the TPO membrane from movement and punctures over time.
Step 3: Positioning the TPO Membrane
TPO membranes come in large rolls, typically in white, gray, or tan to help reflect sunlight and reduce cooling costs. The rolls are positioned carefully to minimize seams—one of the most critical aspects of preventing leaks.
Installers allow the membrane to relax for a short time after unrolling, which helps reduce wrinkles and tension. Precise alignment is essential since any misplacement can create uneven seams that are harder to weld securely.
Step 4: Securing the Membrane
There are three primary ways to attach TPO to the roof substrate:
Mechanically fastened systems use plates and screws along the seams, with the next sheet overlapping to cover the fasteners.
Fully adhered systems rely on adhesives spread evenly across the insulation or deck for a smooth, bonded finish.
Ballasted systems place the membrane loosely over the insulation and hold it in place with a layer of stone or pavers—though this is less common for TPO in modern commercial roofing.
The chosen method depends on the building’s design, wind-uplift requirements, and budget.
Step 5: Welding the Seams
One of the defining steps of TPO installation is heat-welding the seams. Installers use a hot-air welding tool—either hand-held for detail work or automatic welders for long, straight seams—to fuse the overlapping edges into a single, continuous sheet.
This process creates a watertight bond that’s stronger than the membrane itself. Welds are then tested using a probe to confirm there are no weak spots or gaps.
Step 6: Flashing and Detail Work
Water infiltration often starts at roof penetrations and edges, so these areas receive special attention. Flashings are custom-cut pieces of TPO that seal around HVAC units, pipes, vents, skylights, and roof perimeters.
Installers weld these flashings to the main membrane and add reinforced strips if needed for extra protection. Proper detailing ensures the roof can expand and contract with temperature changes without creating leaks.
Step 7: Final Inspection and Quality Checks
Before the job is complete, roofing crews perform a thorough inspection. This includes checking seam welds, verifying membrane adhesion, ensuring drainage paths are unobstructed, and confirming that all flashing work is watertight.
In many cases, manufacturers require an inspection for warranty approval. This step helps guarantee that the TPO system will perform as expected for years to come.
Advantages of TPO Installation Methods
Each step in the installation process is designed to maximize the benefits of TPO roofing, including:
Energy efficiency: The reflective surface helps lower cooling costs.
Durability: Welded seams provide excellent resistance to leaks.
Versatility: Works for flat or low-slope commercial roofs.
Cost-effectiveness: Installation is relatively quick compared to some other roofing materials.
Ongoing Maintenance After Installation
While TPO roofs require less maintenance than some other systems, regular inspections are still important. Cleaning the surface, checking seams, and ensuring drainage systems remain clear will help the roof last its full service life—often 20 years or more.
Watch the video above to learn more about commercial roofing installations!